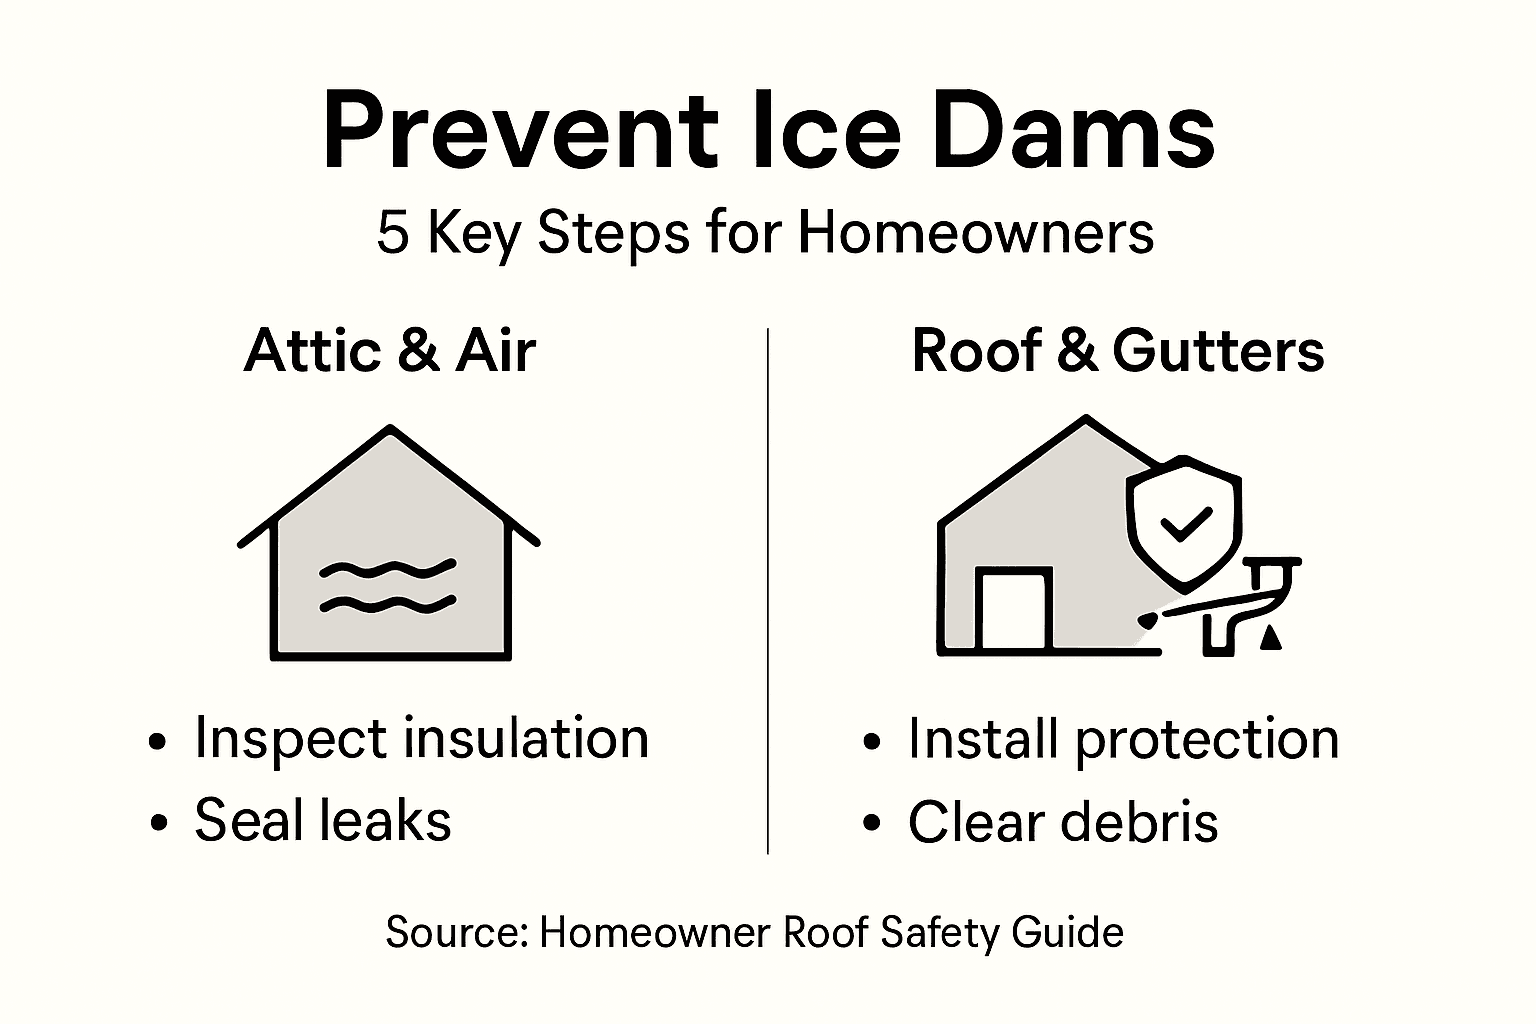
Heavy winter snow in Massachusetts can quickly turn from picturesque to problematic when ice dams threaten your roof’s integrity. The risk of costly repairs and energy loss rises as snow melts and refreezes, leading to water backup under shingles. This guide offers practical steps built on expert advice, including inspecting insulation, sealing air leaks, upgrading roof protection, clearing debris, and verifying repairs to help you maintain optimal attic insulation and ventilation and keep your home safe all season.
Table of Contents
- Step 1: Inspect Attic Insulation And Ventilation
- Step 2: Seal Air Leaks To Prevent Heat Loss
- Step 3: Install Quality Roof And Gutter Protection
- Step 4: Clear Debris For Optimal Water Flow
- Step 5: Verify Effectiveness After Winter Weather
Quick Summary
| Key Point | Explanation |
|---|---|
| 1. Inspect Attic Insulation | Adequate insulation levels (R-30 to R-38) prevent heat buildup and ice dam formation. |
| 2. Seal Air Leaks | Identify and seal leaks around ducts and fixtures to maintain consistent roof temperatures. |
| 3. Install Roof and Gutter Protections | High-quality materials protect against water damage and ice accumulation on roofs. |
| 4. Clear Gutters Regularly | Remove debris from gutters to ensure proper drainage and prevent ice dam conditions. |
| 5. Conduct Post-Winter Inspection | Assess your ice dam prevention measures to catch issues early and minimize repair costs. |
Step 1: Inspect attic insulation and ventilation
Keeping your home safe from ice dams starts with a thorough examination of your attic’s insulation and ventilation systems. This critical inspection helps prevent heat buildup that causes snow to melt and refreeze on your roof, creating destructive ice dams.
Begin by checking your attic’s current insulation level. You want to ensure you have adequate coverage – ideally between R-30 and R-38 – which helps maintain proper thermal barriers. Look for these key indicators during your inspection:
- Uneven or compressed insulation
- Gaps between insulation batts
- Visible ceiling joists (indicating insufficient depth)
- Signs of moisture or water stains
Next, evaluate your attic’s ventilation system. Proper airflow is crucial for preventing heat accumulation. Check that you have:
- Clear soffit vents at the roof’s edges
- Functional ridge or roof vents at the top
- No obstructions blocking air circulation
- Continuous baffles maintaining airflow paths
A well-ventilated attic allows outside air to circulate, reducing temperatures and preventing the freeze-thaw cycle that creates ice dams. If you notice significant insulation gaps or limited ventilation, consider consulting a professional who can provide targeted solutions.
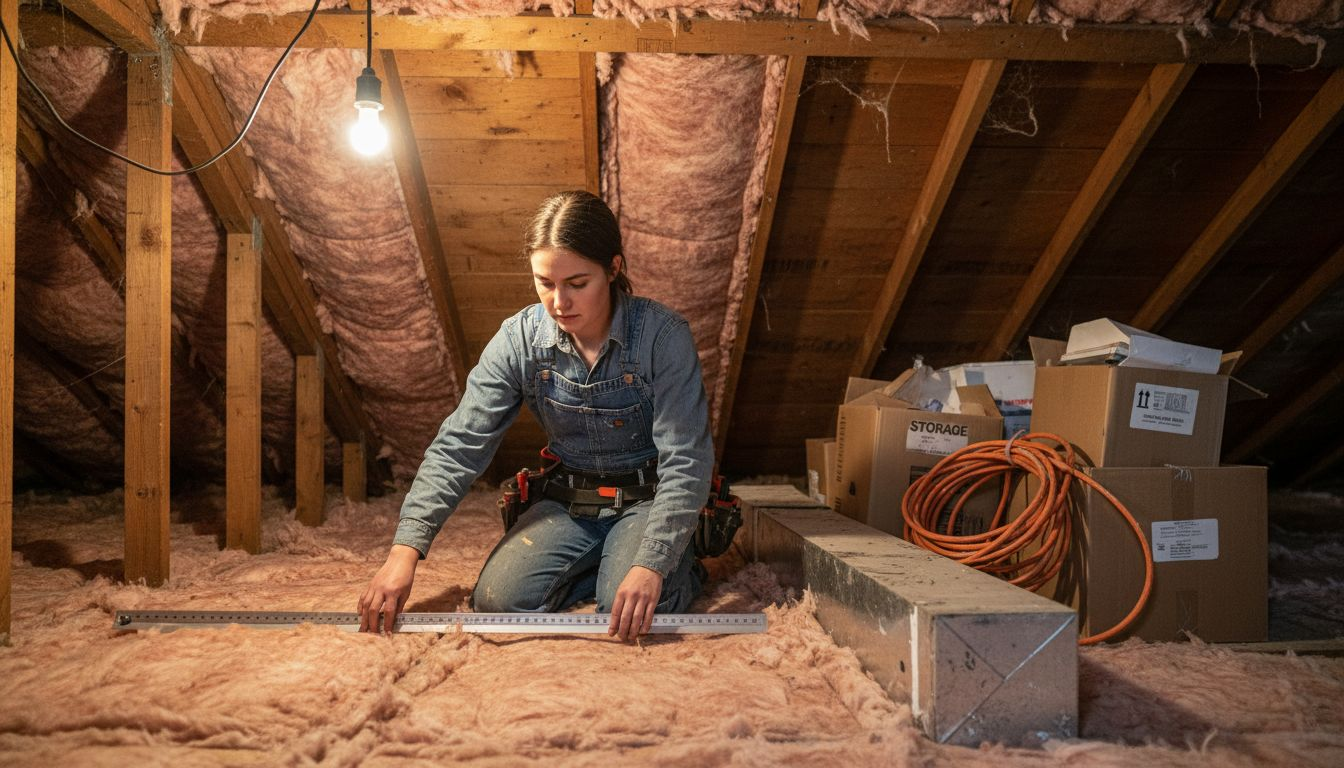
Pro tip: Use a thin piece of cardboard or ruler to check insulation depth, ensuring it reaches at least 10-12 inches across your attic floor for optimal thermal protection.
Here’s a summary of key attic upgrades and their benefits for ice dam prevention:
| Upgrade Type | Key Benefit | Professional Help Needed? |
|---|---|---|
| Increase Insulation | Reduces heat loss, prevents melting | Sometimes, for proper coverage |
| Improve Ventilation | Maintains uniform attic temperature | Often, to ensure correct airflow |
| Seal Air Leaks | Blocks warm air entry to attic | Usually DIY with proper tools |
Step 2: Seal air leaks to prevent heat loss
Preventing ice dams requires a strategic approach to stopping heat loss in your home, particularly in areas where warm air can escape into your attic. Sealing air leaks is a critical step in maintaining a consistent roof temperature and reducing the risk of snow melting and refreezing.
Start by identifying potential air leak sources in your attic. Focus on areas around electrical outlets, plumbing penetrations, recessed light fixtures, and any gaps around chimneys or vent pipes. Use specialized air sealing techniques to create an effective thermal barrier:
- Use expanding foam for larger gaps
- Apply caulk around smaller openings
- Seal electrical box penetrations with foam gaskets
- Install weatherstripping around attic access hatches
Pay special attention to your home’s HVAC system and ductwork. Leaky ducts can significantly contribute to heat loss, with air handler seam leakage reducing heating efficiency and potentially creating conditions that lead to ice dam formation. Inspect these areas carefully:
- Check duct connections for visible gaps
- Use mastic sealant or foil tape on duct seams
- Ensure insulation surrounds all ductwork
- Verify that duct connections are tight and secure
A comprehensive air sealing approach can reduce utility bills and minimize the risk of ice dam formation by keeping warm air where it belongs – inside your living spaces.
Pro tip: Use a smoke pencil or incense stick on a windy day to detect even the smallest air leaks, as the smoke will reveal hidden drafts and potential sealing opportunities.
Step 3: Install quality roof and gutter protection
Protecting your home from ice dams requires a strategic approach to roofing and gutter systems. By installing high-quality protective components, you can significantly reduce the risk of water damage and prevent the formation of destructive ice buildup along your roof edges.
Start by focusing on critical roof membrane and sealing techniques that create a robust water-resistant barrier. Pay special attention to these key installation areas:
- Install metal drip edges with extended drip legs
- Apply self-sealing bituminous membranes at roof valleys
- Use kick-out flashings to redirect water away from vulnerable joints
- Ensure ice and water barriers extend at least 24 inches from roof edges
Your gutter system plays an equally important role in preventing ice dams. Implement these protective strategies:
- Clean gutters thoroughly before winter
- Install gutter guards to prevent debris buildup
- Ensure proper gutter slope for water drainage
- Check and repair any loose or damaged gutter sections
Proper roof and gutter protection is your first line of defense against costly water damage and ice dam formation.
Pro tip: Consider having a professional roofing inspection before winter to identify and address any potential weak points in your roof’s protective systems.
Compare common gutter and roof protection products and their effectiveness:
| Product Type | Main Function | Ice Dam Prevention Impact |
|---|---|---|
| Metal Drip Edge | Directs water off roof edge | Prevents pooling at eaves |
| Gutter Guard | Keeps debris out of gutters | Maintains drainage, reduces risk |
| Bituminous Membrane | Creates water-resistant barrier | Stops leaks from ice backup |
| Kick-Out Flashing | Channels water away from siding | Reduces localized ice buildup |
Step 4: Clear debris for optimal water flow
Keeping your gutters and roof clear of debris is a critical defense against ice dam formation. Blocked drainage systems can trap water and create conditions that lead to serious home damage, making regular maintenance an essential preventive strategy for Massachusetts homeowners.
Begin with a thorough inspection of gutters and downspouts to identify and remove potential blockages. Focus on these key debris removal areas:
- Remove leaves, sticks, and organic matter from gutter channels
- Clear downspouts of any accumulated debris
- Check for signs of standing water or blockages
- Inspect gutter connections and seams for potential clogs
When clearing debris, follow these systematic steps:
- Use a sturdy ladder with proper safety precautions
- Wear protective gloves and eye protection
- Use a garden trowel or gutter scoop for efficient removal
- Flush gutters with a garden hose to ensure complete clearing
- Check that water flows freely through downspouts
Consistent debris removal is your first line of defense against water backup and potential ice dam formation.
Pro tip: Consider installing gutter guards to reduce the frequency of manual cleaning and minimize debris accumulation throughout the winter months.
Step 5: Verify effectiveness after winter weather
Once winter subsides, conducting a comprehensive assessment of your ice dam prevention strategies is crucial. A thorough post-winter inspection helps you understand the effectiveness of your protective measures and identify any potential vulnerabilities in your home’s exterior defense system.
Begin with a detailed post-winter roof and attic inspection to detect any signs of water intrusion or damage. Look for these critical indicators:
- Water stains on interior ceilings and walls
- Moisture or frost accumulation in the attic
- Signs of mold or mildew growth
- Damaged or warped roof sheathing
- Evidence of water penetration around roof penetrations
Carry out your inspection systematically:
- Check interior ceilings for discoloration or soft spots
- Examine attic insulation for signs of moisture
- Inspect roof edges and valleys for potential damage
- Look for any new cracks or separations in roofing materials
- Evaluate the condition of gutters and downspouts
Early detection of potential issues can save you thousands in repair costs and prevent future structural damage.
Pro tip: Schedule a professional roof inspection if you discover any signs of water damage or are uncertain about your assessment’s findings.
Protect Your Massachusetts Home from Ice Dams with Trusted Experts
Preventing ice dams requires a combination of expert attic insulation, effective air sealing, and reliable roof and gutter protection. This article highlights the challenges of uneven insulation, hidden air leaks, and clogged gutters that put your home at risk for costly water damage during winter. At Sabatalo Contracting & Home Improvement, we understand the frustration of dealing with ice dams and offer tailored solutions designed to keep your home safe, energy efficient, and comfortable.

Enhance your home’s defense against ice dams by partnering with professionals who bring over 15 years of local experience in roofing, gutter installation, and exterior upgrades. Visit Sabatalo Contracting & Home Improvement to explore our comprehensive services and see how we can improve your home’s insulation, ventilation, and exterior protection. Don’t wait until spring water damage appears – request a consultation today to safeguard your home before the next winter hits.
Frequently Asked Questions
How can I inspect my attic for ice dam prevention?
To inspect your attic for ice dam prevention, check for adequate insulation levels and ensure proper ventilation. Aim for insulation that reaches at least R-30 and ensure that soffit and ridge vents are clear of obstructions to promote airflow.
What steps should I take to seal air leaks in my home?
To seal air leaks, identify gaps around outlets, plumbing, and light fixtures in the attic. Use expanding foam for larger gaps and caulk for smaller openings to create a tight thermal barrier, minimizing heat loss.
What roofing upgrades are effective in preventing ice dams?
Effective roofing upgrades include installing metal drip edges and using self-sealing membranes at roof valleys. Additionally, ensure that ice and water barriers extend at least 24 inches from roof edges to redirect water efficiently and prevent pooling.
How can I maintain clear gutters to prevent ice dams?
To maintain clear gutters, regularly remove debris such as leaves and stick buildup and check downspouts for blockages. Flush gutters with a garden hose after cleaning to ensure proper water flow, helping to avoid ice dam formation.
What should I check after winter to evaluate my ice dam prevention efforts?
After winter, inspect your roof and attic for signs of water intrusion such as stains on ceilings or mold in the attic. Checking for these issues early can save you thousands in repair costs and allow you to address any weaknesses quickly.
How often should I inspect my attic and roof for ice dam issues?
Inspect your attic and roof at least twice a year, ideally in spring and fall. Increasing the frequency of inspections after heavy snowfall can help you catch potential ice dam issues before they cause serious damage.
Recommended
-
- Roof Ice Melt Systems: Preventing Winter Roof Damage | Sabatalo Contracting
- How to Prevent Roof Leaks: A Step-by-Step Guide for Homeowners | Sabatalo Contracting
- What Is a Drip Edge and Why It Matters | Sabatalo Contracting
- 7 Essential Steps for Your Winterize Your Home Checklist | Sabatalo Contracting