Nearly one in three American homes faces significant roof problems as shingles age and weather takes its toll. If you own an older home in Massachusetts, spotting early signs of damage can mean the difference between a simple fix and a costly emergency. This guide shows you how to assess your roof’s condition with clear steps, practical tips, and visual checks so you can address issues before they escalate into major repairs.
Table of Contents
- Step 1: Assess Visible Roof Signs From The Ground
- Step 2: Inspect Roofing Materials Up Close For Damage
- Step 3: Check Gutters, Flashing, And Roof Edges For Issues
- Step 4: Evaluate Attic And Ceilings For Hidden Leaks
- Step 5: Verify Findings And Document Roof Condition
Quick Summary
| Key Insight | Explanation |
|---|---|
| 1. Conduct initial ground inspection | Start by assessing the roof from the ground for visible signs of damage, such as missing or cracked shingles. |
| 2. Perform close-up examination | Safely inspect shingles, flashing, and valleys for deterioration and water damage by using appropriate ladder safety measures. |
| 3. Check gutters and downspouts | Inspect gutters for clogs and ensure downspouts direct water away from the foundation to prevent damage. |
| 4. Examine attic for leaks | Look for water stains and signs of mold in the attic to identify potential leaks before they worsen. |
| 5. Document findings systematically | Create a comprehensive record of the roof’s condition, including photos and detailed notes for future reference. |
Step 1: Assess visible roof signs from the ground
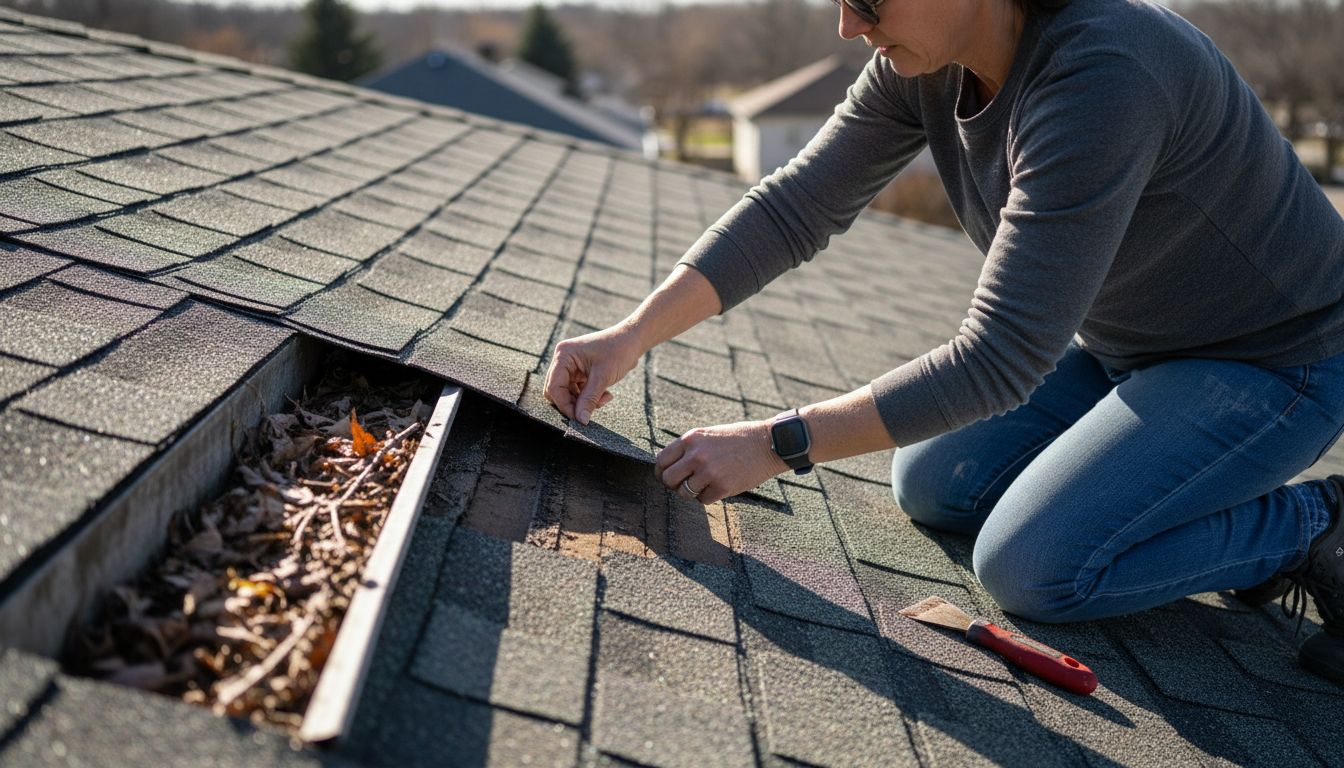
Identifying potential roof damage begins with a careful ground level visual inspection. Before climbing ladders or making risky maneuvers, you can gather critical insights about your roof’s condition safely and efficiently.
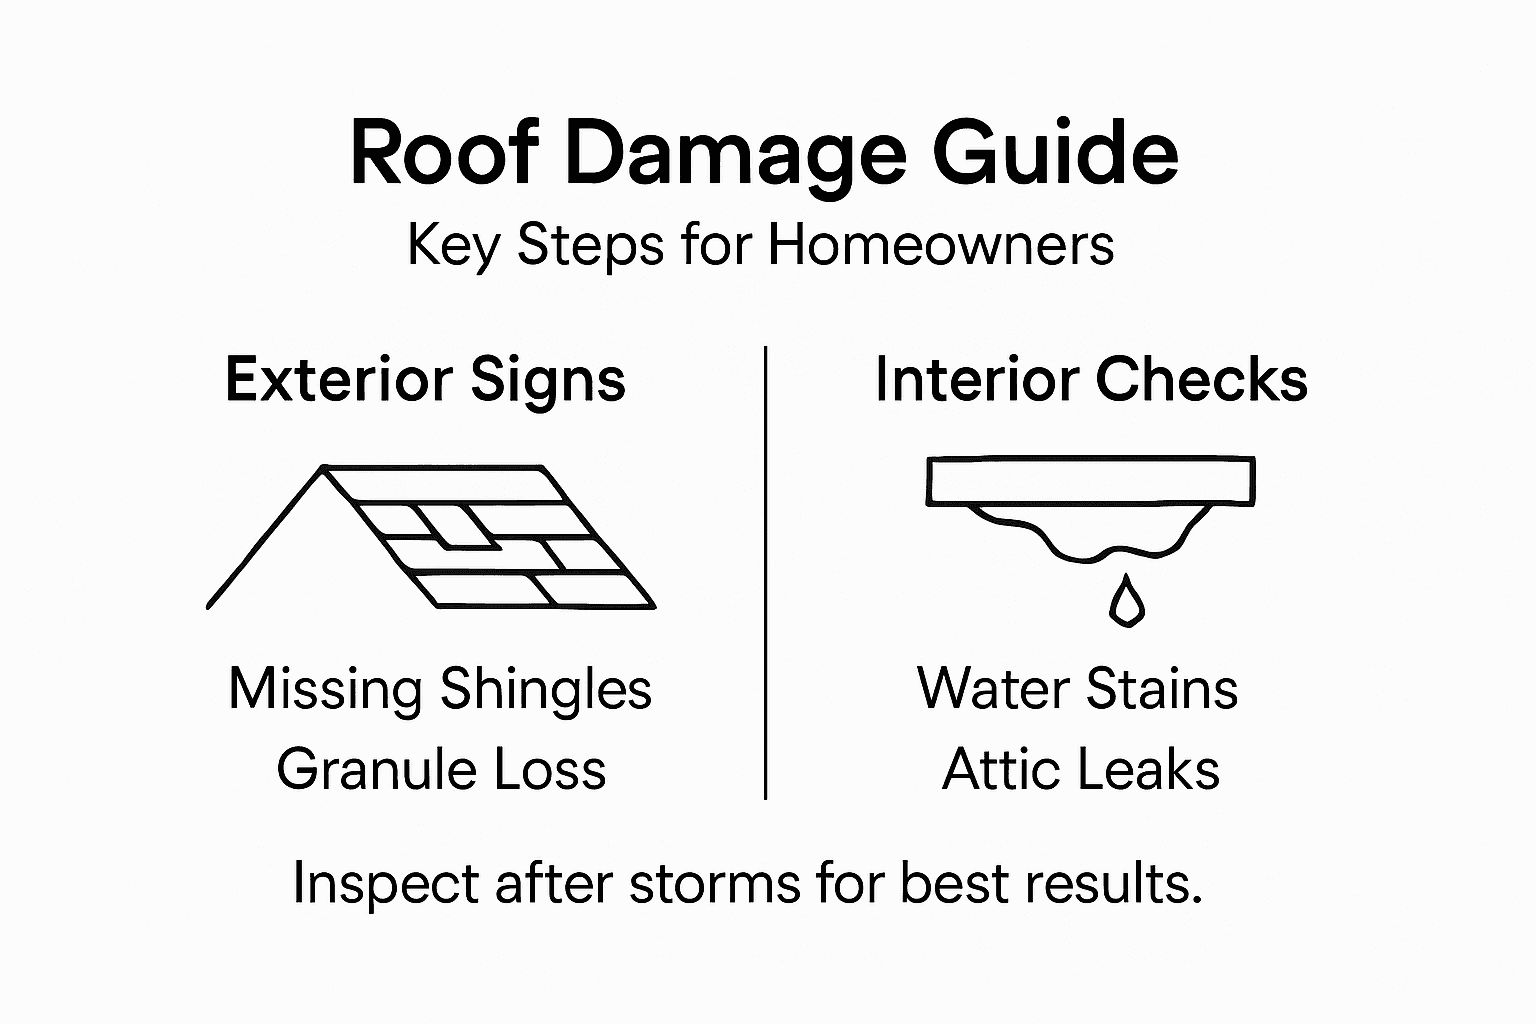
Start by stepping back from your house and surveying the entire roofing surface systematically. Visual roof damage assessment requires looking for telltale signs like missing, cracked, or curling shingles. Pay special attention to areas around chimneys, vents, and roof edges where damage frequently occurs. Use binoculars to get a closer view without risking personal safety. Look for discoloration, dark spots, or areas where shingles appear misaligned or damaged.
Check your gutters and downspouts for granule buildup, which indicates significant shingle wear. Scan the roof for any sagging sections or areas that seem uneven, as these could signal underlying structural problems. Watch for sunlight spots through attic rafters, water stains on interior ceilings, or peeling paint near roofline edges these are additional warning signs that warrant professional inspection.
Here is a summary of common roof inspection warning signs and their potential causes:
| Visible Sign | Likely Cause | Suggested Action |
|---|---|---|
| Missing shingles | Wind damage or poor installation | Schedule repair |
| Curling or cracked shingles | Aging or weather exposure | Replace affected shingles |
| Granule buildup in gutters | Shingle deterioration | Inspect roof surface |
| Sagging roof sections | Structural weakness or water damage | Professional assessment |
| Discoloration/dark spots | Water infiltration or mold | Check for leaks |
Pro tip: Conduct your visual roof inspection during daylight hours and after recent storms when damage is most likely to be visible.
Step 2: Inspect roofing materials up close for damage
Closely examining your roof materials requires careful planning and safety precautions. This step involves getting as near to your roof as possible without compromising your personal safety or causing additional damage to the roofing system.
Professional roof inspection protocols recommend using an extension ladder positioned securely against the house, ensuring you have a stable base and someone to spot you. Wear non slip shoes with good traction and use a safety harness if the roof pitch is steep. Start by examining shingles for signs of deterioration such as cracking, curling edges, missing granules, or areas where shingles appear lifted or damaged. Pay special attention to valleys where water channels and areas around chimneys or vents where moisture can accumulate.
Look for signs of water damage or previous repair attempts including patched sections, discolored roofing materials, or areas where shingles seem misaligned. Check metal flashing around roof penetrations for rust or separation from surrounding materials. Scan for any soft spots in the roofing deck which could indicate underlying wood rot or structural weakness. Document your findings with clear photographs from multiple angles to help professionals assess the extent of potential damage.
Pro tip: Always inspect your roof during daylight hours with clear weather conditions and have someone nearby as a safety precaution.
Step 3: Check gutters, flashing, and roof edges for issues
Evaluating your roof’s peripheral systems is crucial for preventing water damage and maintaining long term structural integrity. This comprehensive inspection focuses on the critical components that protect your home from moisture intrusion.
Gutter and downspout inspection techniques recommend carefully examining these water management systems for signs of wear or dysfunction. Start by checking gutter attachments for rust, cracks, or separation from the roofline. Look for sagging sections that might indicate improper installation or structural weakness. Clear out any debris like leaves or twigs that could block water flow and cause overflow. Ensure downspouts direct water at least 4 to 6 feet away from your home’s foundation to prevent potential water damage.
Carefully inspect metal flashing around chimneys, vents, and roof intersections for signs of corrosion, gaps, or improper sealing. Pay special attention to step flashing where roof planes meet walls, as these areas are particularly vulnerable to water penetration. Check for any lifted or damaged sections that could allow moisture to seep underneath roofing materials. Any compromised flashing can quickly lead to significant water damage if not addressed promptly.
Pro tip: Use a garden hose to simulate rainfall and test gutter performance during your inspection, revealing hidden drainage issues before they become serious problems.
Step 4: Evaluate attic and ceilings for hidden leaks
Detecting hidden roof damage requires a methodical approach to examining interior spaces where water intrusion often leaves subtle yet critical evidence. This step involves carefully investigating your attic and ceiling areas to uncover potential roof leaks that might go unnoticed from the exterior.
Attic inspection techniques recommend starting by turning off all lights and looking for any daylight penetration through the roof sheathing, which can indicate potential holes or serious damage. Carefully examine the underside of roof decking for dark spots, water stains, or discoloration that suggests ongoing moisture problems. Look for signs of mold growth, wood rot, or rust on metal fasteners and roof framing components. Pay special attention to areas around roof penetrations like chimneys, vents, and skylights where leaks commonly develop.
Inspect your interior ceiling for telltale signs of water damage such as yellowish brown stains, bubbling paint, or subtle discoloration that might indicate slow leaks. Run your hands along the ceiling to feel for soft spots or areas of dampness. Use a moisture meter if available to detect hidden moisture that hasnt yet created visible damage. Document any findings with clear photographs to help track potential problem areas and assist professional roofers in diagnosing the exact source of water intrusion.
Pro tip: Conduct your interior roof inspection during daylight hours and after recent rainfall to maximize your ability to spot moisture related issues.
Use this table to compare inspection techniques for different roofing components:
| Area Inspected | Best Tools/Method | What to Look For |
|---|---|---|
| Roof surface (exterior) | Binoculars, daylight | Damaged or missing shingles |
| Gutters and downspouts | Ladder, garden hose | Clogs, leaks, sagging sections |
| Attic interior | Flashlight, moisture meter | Water stains, mold, daylight |
| Flashing and edges | Up-close visual, camera | Rust, gaps, lifted flashing |
Step 5: Verify findings and document roof condition
Transforming your visual inspection into a comprehensive record helps track potential roof issues and provides critical information for future repair or maintenance decisions. This step focuses on creating a thorough and professional documentation of your roof’s current condition.
Roof inspection documentation protocols recommend creating a systematic record that captures all observed damage and potential problem areas. Take clear, well-lit photographs from multiple angles to document any signs of wear, damage, or deterioration. Include close up shots of specific issues like cracked shingles, rusted flashing, or water stains. Write detailed notes describing the location, size, and severity of each observed problem. Measure and record the dimensions of damaged areas to provide precise information for potential repair estimates.
Organize your documentation in a logical manner, grouping images and notes by roof section or type of damage. Create a summary sheet that highlights key findings, potential risks, and recommended next steps. If you are considering an insurance claim or professional repair, these detailed records will serve as critical evidence. Include the date of inspection, weather conditions, and any changes you observe compared to previous assessments. Consider creating a digital backup of all photographs and notes to ensure you have a permanent record of your roof’s condition.
Pro tip: Use consistent lighting and include a reference object like a measuring tape in your photographs to provide scale and clarity.
Protect Your Home with Expert Roofing Solutions Today
Identifying roof damage early through detailed inspection steps like spotting missing shingles or checking flashing issues is just the first step to safeguarding your home. If you have noticed troubling signs such as sagging sections, water stains, or cracked roofing materials during your inspection, it is vital to act promptly to prevent costly structural damage and leaks. Sabatalo Contracting & Home Improvement offers trusted expertise backed by over 15 years of local experience in Massachusetts, ensuring your roof receives the highest quality craftsmanship and durable repairs or replacements.

Don’t let small roof problems turn into expensive headaches. Explore our comprehensive Roofing | Sabatalo Contracting services to restore your roof’s integrity and enhance your home’s protection. For a full home exterior upgrade, consider pairing roofing with Siding | Sabatalo Contracting to improve both durability and curb appeal. Visit our homepage now to request a free consultation and get your personalized repair plan started. Take action today to secure your investment and enjoy peace of mind with a strong, weather-ready roof.
Frequently Asked Questions
How can I assess visible roof damage from the ground?
Begin by surveying your roof from a distance to look for missing, cracked, or curling shingles. Use binoculars to inspect areas around chimneys and roof edges for additional signs of damage, such as discoloration or sagging sections.
What should I look for when inspecting roofing materials up close?
When inspecting your roofing materials closely, check for issues such as cracked or curling shingles, signs of water damage, and integrity of metal flashing. Focus on valleys, roof penetrations, and any soft spots that could indicate structural problems.
How do I check my gutters and flashing for roof issues?
Inspect your gutters and flashing by looking for rust, cracks, or sagging sections that could hinder water flow. Clear out any debris and check that downspouts direct water away from the foundation to prevent further water issues.
What signs of leaks should I look for in my attic and ceilings?
Look for dark spots, water stains, or mold growth on the underside of the roof decking and your ceilings. Use a moisture meter if available to identify hidden leaks, and document any findings to assist with repairs.
How can I document my roof condition effectively?
Create a systematic record by taking clear photographs of any observed damage and writing detailed notes about each issue’s location and severity. Organize your documentation to highlight critical findings and include the date of inspection for future reference.
When is the best time to conduct a roof inspection?
The best time to inspect your roof is during daylight hours, especially after recent storms when damage is likely to be evident. Set aside time to conduct a thorough check at least once or twice a year, or after major weather events.
Recommended
-
- Repairing Hail Damage: Step-by-Step Guide for Homeowners | Sabatalo Contracting
- How to Prevent Roof Leaks: A Step-by-Step Guide for Homeowners | Sabatalo Contracting
- Roofing Contractors in Massachusetts | Sabatalo Contracting
- 7 Steps to a Seasonal Home Maintenance Checklist for MA Owners | Sabatalo Contracting