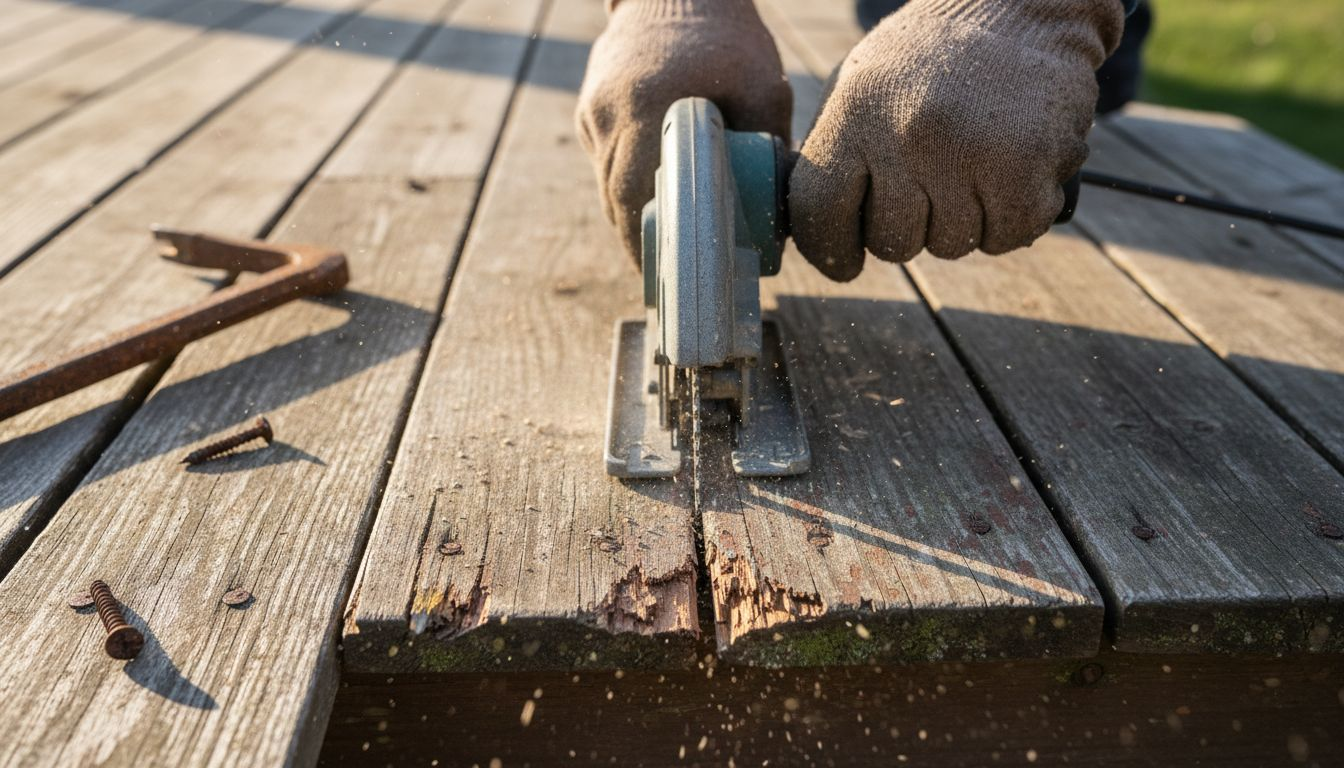
Sunken boards and splintered edges often signal trouble for Massachusetts decks, especially after harsh New England winters. Aging deck boards can put your family’s safety at risk and detract from your home’s curb appeal. The North American Deck & Railing Association notes that regularly inspecting for visible cracks, rot, and instability is vital for catching issues early. This guide reveals practical steps to identify, remove, and replace damaged deck boards, making your outdoor space safer and more attractive without unnecessary expense.
Table of Contents
- Step 1: Inspect And Identify Damaged Deck Boards
- Step 2: Remove Faulty Boards With Proper Tools
- Step 3: Select And Prepare Replacement Materials
- Step 4: Install New Boards Securely And Evenly
- Step 5: Verify Stability And Finish Repairs
Quick Summary
| Key Point | Explanation |
|---|---|
| 1. Inspect deck boards regularly | Conduct thorough visual inspections to identify cracks, soft spots, or discoloration that indicate potential damage. |
| 2. Use proper removal techniques | Carefully remove damaged boards using tools like a pry bar and reciprocating saw to avoid damaging the structure. |
| 3. Choose suitable replacement materials | Select boards that match existing materials for durability, moisture resistance, and aesthetic consistency. |
| 4. Securely install new boards | Ensure new boards are attached with corrosion-resistant screws and spaced evenly for stability. |
| 5. Apply protective sealant afterward | Use a weather-resistant sealant on the new boards for longevity after allowing time for settling. |
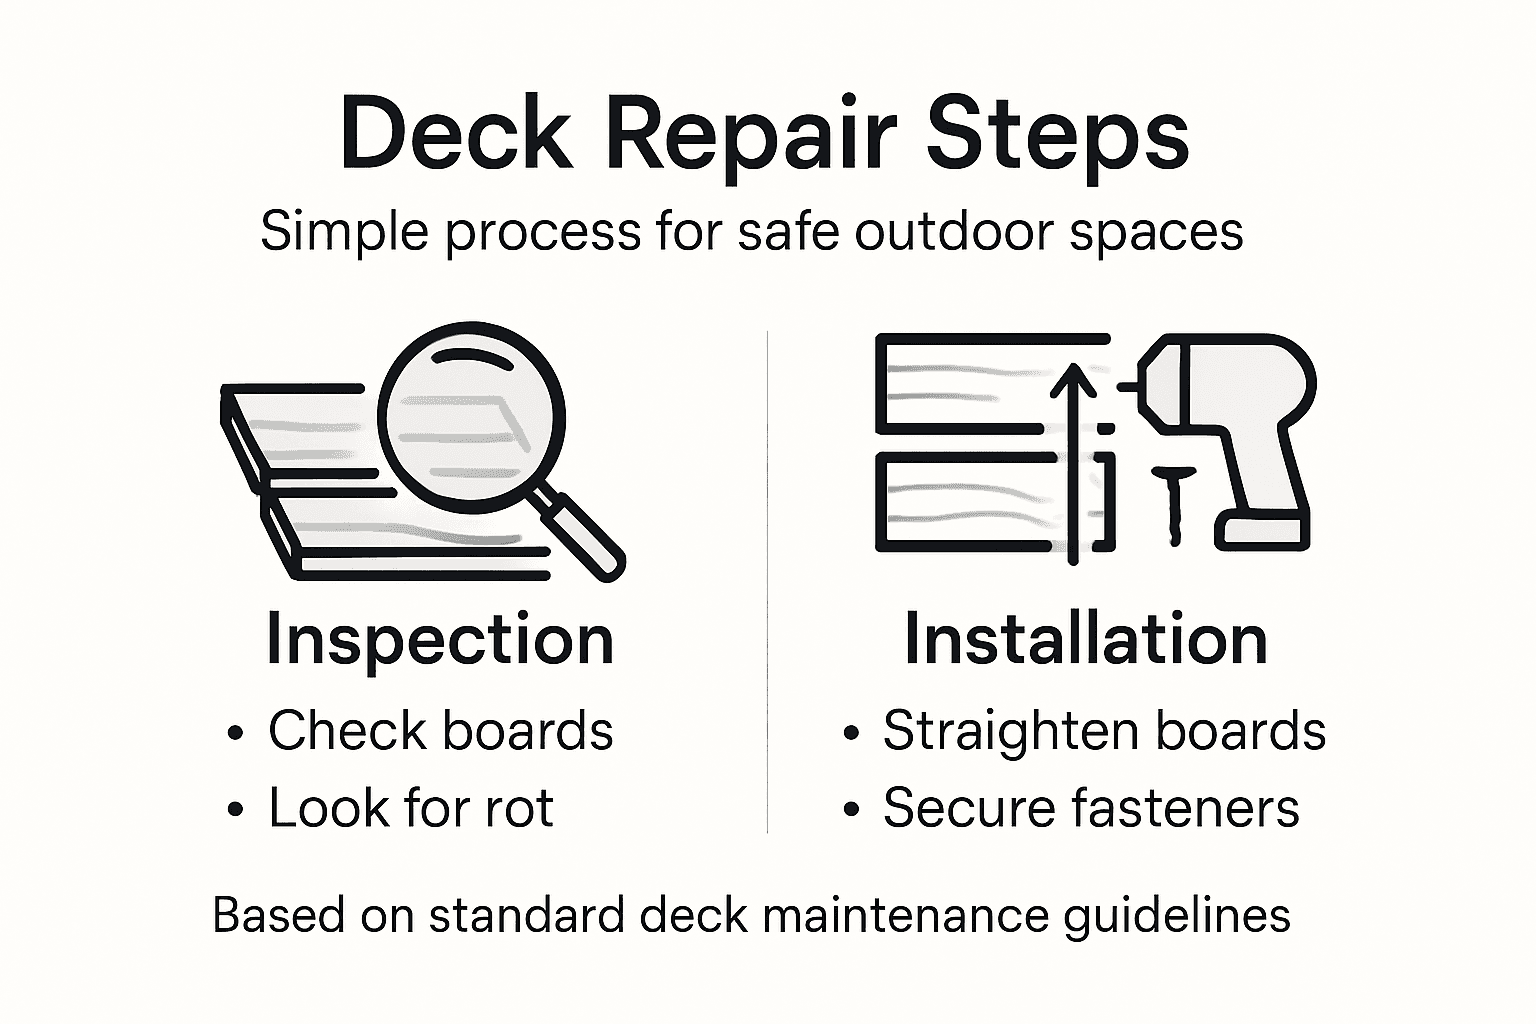
Step 1: Inspect and Identify Damaged Deck Boards
Discovering potential issues with your deck boards early can prevent costly repairs and ensure a safe outdoor space for your Massachusetts home. By thoroughly examining your deck’s surface and structural components, you’ll be able to spot warning signs before they become serious problems.
Start your inspection by visually scanning the entire deck surface, paying close attention to areas that experience high moisture or direct sunlight. The deck safety evaluation guide recommends checking for several key indicators of damage:
- Visible cracks running along the length or width of boards
- Soft or spongy areas that feel unstable when walking
- Discoloration suggesting wood rot or water damage
- Loose or protruding nails and separated board joints
- Warping or significant board deformation
For a comprehensive assessment, use a screwdriver to gently probe wooden surfaces. If the tool easily penetrates the wood or creates a soft, powdery residue, you’re likely dealing with wood decay. Deck inspection guidelines suggest paying extra attention to boards near ground contact, around fasteners, and in areas with consistent moisture exposure.
Systematically inspect each board section by section, moving from one end of the deck to the other. Check both the visible surface and underneath the boards where possible. Look for signs of insect damage, fungal growth, or structural weakness that could compromise the deck’s integrity.
Here’s a summary of potential deck board issues and what they might indicate:
| Observation | Possible Cause | Recommended Action |
|---|---|---|
| Cracks or splits | Weathering or age | Replace affected boards |
| Soft or spongy spots | Wood rot or moisture | Probe for decay, remove if needed |
| Warped or uneven boards | Improper installation | Realign or replace boards |
| Loose fasteners | Structural movement | Secure or replace hardware |
Pro tip: Conduct your deck inspection during daylight hours and when the wood is dry to get the most accurate assessment of potential damage.
Step 2: Remove Faulty Boards with Proper Tools
Removing damaged deck boards requires precision and careful technique to prevent further damage to your deck’s underlying structure. By following systematic removal steps and using the right tools, you can effectively replace compromised sections and restore your deck’s integrity.
Safe deck board removal techniques recommend gathering the following essential tools before starting:
- Pry bar for lifting and separating boards
- Reciprocating saw with wood-cutting blade
- Hammer for removing stubborn nails
- Protective gloves and safety glasses
- Drill with appropriate bits for fastener removal
Begin by identifying the precise boundaries of the damaged board section. Carefully remove fasteners using your drill, working methodically to avoid splitting surrounding wood. For boards firmly attached, use the pry bar to gently lift and separate, applying steady pressure to minimize stress on adjacent boards.
Deck inspection guidelines emphasize the importance of controlled removal. When using a reciprocating saw, make strategic cuts that allow clean extraction without damaging the underlying joists or surrounding decking material. Work slowly and maintain consistent blade alignment to ensure a precise cut.
Inspect the underlying structure carefully after board removal. Look for signs of additional damage, rot, or structural weakness that might require further repair before installing new boards.
Pro tip: Always keep replacement boards on hand and cut them to precise measurements before beginning the removal process to minimize deck downtime.
Step 3: Select and Prepare Replacement Materials
Choosing the right replacement materials is crucial for ensuring your deck’s longevity and maintaining its structural integrity. Your selection will directly impact the durability, appearance, and performance of your repaired deck surface.
Deck construction guidelines recommend considering several key factors when selecting replacement boards:
- Matching wood species to existing deck materials
- Pressure-treated lumber for enhanced weather resistance
- Dimensional lumber that meets building code standards
- Moisture-resistant board treatments
- Color and grain consistency with existing boards
Prepare your replacement boards by carefully inspecting each piece for potential defects. Check for straight edges and uniform thickness, ensuring they will integrate seamlessly with your existing deck structure. Residential deck construction recommendations emphasize the importance of acclimating new boards to your local environmental conditions before installation.
Measure and cut replacement boards with precision, allowing for slight expansion and contraction. If working with pressure-treated lumber, wear protective gloves and consider applying a water-resistant sealant to enhance the board’s durability and protect against moisture damage.
Compare popular deck board material options for replacements:
| Material Type | Durability | Maintenance Needed | Initial Cost |
|---|---|---|---|
| Pressure-treated wood | 15-20 years | Moderate (staining) | Lowest |
| Cedar or redwood | 20-25 years | Regular sealing | Medium |
| Composite boards | 25+ years | Low (cleaning only) | Highest |
Pro tip: Purchase 10-15% extra replacement boards to account for potential cutting errors or future repairs, ensuring you have matching materials on hand.
Step 4: Install New Boards Securely and Evenly
Installing replacement deck boards requires precision and attention to detail to ensure a safe, stable, and visually appealing surface. Your goal is to create a seamless integration that maintains the structural integrity of your entire deck.
Deck board installation guidelines emphasize the importance of using the right fastening techniques:
- Corrosion-resistant screws for primary attachment
- Consistent board spacing between 1/8 to 1/4 inch
- Secure fastening through board centers
- Alignment with underlying joists
- Staggered end joints for enhanced stability
Begin by positioning the first board carefully, ensuring it is perfectly straight and aligned with your deck’s existing framework. Use a chalk line to mark precise placement, and drill pilot holes to prevent wood splitting. Prescriptive wood deck construction methods recommend maintaining consistent spacing using specialized deck spacers to create uniform gaps between boards.
Work methodically across the deck, checking each board’s level and alignment before securing. Use two fasteners at each joist connection, driving them slightly below the board surface to prevent protruding nail heads that could cause splinters or catch clothing.
Pro tip: Use a rubber mallet to gently tap boards into precise position before final fastening, ensuring tight, uniform connections.
Step 5: Verify Stability and Finish Repairs
The final stage of deck board repair involves carefully assessing the structural integrity and completing protective treatments that will extend your deck’s longevity. A thorough verification process ensures your repair work meets safety standards and provides lasting performance.
Residential wood deck specifications recommend conducting comprehensive stability checks:
- Test board movement by walking across repaired sections
- Check fastener tightness at each connection point
- Verify surface evenness using a straight edge
- Inspect surrounding boards for potential stress
- Assess overall deck alignment
Begin by applying gentle pressure to newly installed boards, watching for unexpected movement or flexing. Deck inspection guidelines suggest using a rubber mallet to tap boards and identify any areas requiring additional securing. If boards feel loose or uneven, revisit your fastening technique and make necessary adjustments.
Complete the repair process by applying a weather-resistant wood sealant to protect your new boards and help them blend seamlessly with existing deck surfaces. Pay special attention to end grain and board edges, which are most vulnerable to moisture penetration.
Pro tip: Wait 48 hours after installation before applying sealant to ensure new boards have fully settled and moisture has evaporated.
Ensure Your Deck’s Safety and Beauty with Expert Repairs
Dealing with cracked, warped, or rotting deck boards can feel overwhelming. Your goal is clear: protect your home, restore your outdoor space’s beauty, and guarantee lasting stability. This article showed how careful inspection, precise removal, and quality material selection are crucial for a repair that lasts. If tackling those challenges feels like too much or you want a trusted professional who understands Massachusetts’ unique weather and building standards, Sabatalo Contracting is here to help.

Explore our dedicated Decks | Sabatalo Contracting services where craftsmanship meets reliability. With over 15 years of local expertise, we specialize in restoring and improving decks to be safe and attractive using top-quality materials and proven techniques. Don’t wait for small issues to turn into costly repairs. Visit Sabatalo Contracting today for your personalized consultation and take the first step toward a durable, beautiful deck that enhances your home and peace of mind.
Frequently Asked Questions
How can I identify damaged deck boards?
Start by visually inspecting the entire deck surface for cracks, soft spots, discoloration, and warping. Use a screwdriver to probe any suspect areas; if it penetrates easily, the board may be decayed and needs replacement.
What tools do I need to remove faulty deck boards?
You’ll need a pry bar, a reciprocating saw, a hammer, a drill, and protective gear like gloves and safety glasses. Gather these tools before starting your removal process to ensure you can work efficiently and safely.
How do I select the right replacement materials for my deck?
Choose replacement boards that match the existing material in wood species and color for a cohesive look. Ensure they meet building code standards and consider pressure-treated options for better weather resistance.
What is the proper method for installing new deck boards?
Secure new boards using corrosion-resistant screws, ensuring even spacing of 1/8 to 1/4 inch between them. Drill pilot holes and align boards with the underlying joists for maximum stability and strength.
How can I verify that my repaired deck is stable?
Check for any movement or flexing by walking across the newly installed sections and confirm that all fasteners are tight. Use a straight edge to ensure the surface is even and make adjustments as necessary.
When should I apply a sealant to my deck?
Apply a weather-resistant wood sealant after waiting 48 hours post-installation, allowing the boards to settle. Pay attention to edges and end grains to protect against moisture infiltration.
Recommended
- Deck Contractors in Massachusetts | Sabatalo Contracting
- Winterizing Your Deck for Maximum Protection and Longevity | Sabatalo Contracting
- Deck Safety Inspection Guide for Massachusetts Homeowners | Sabatalo Contracting
- Deck Contractors in Massachusetts | Sabatalo Contracting
- How To Resurface Pool Deck For Lasting Results