Every Massachusetts homeowner knows that unpredictable New England storms can cause serious problems for your roof. In fact, over one in four American homes experience weather-related roof damage each year, turning a simple repair into a costly project. If you want to avoid unnecessary expenses and safeguard your home, learning how to inspect your roof before hiring a contractor will help you catch hidden issues, document what needs fixing, and make smarter choices about repairs.
Table of Contents
- Step 1: Prepare Your Roof Inspection Tools
- Step 2: Assess Visible Roof Surfaces Safely
- Step 3: Examine Shingles, Flashing, And Gutters
- Step 4: Check Attic And Ceilings For Interior Damage
- Step 5: Document Findings And Plan Next Steps
Quick Summary
| Key Point | Explanation |
|---|---|
| 1. Assemble essential inspection tools | Gather a telescoping ladder, flashlight, moisture meter, safety gear, and a camera before inspecting your roof. |
| 2. Conduct a safe visual assessment | Use binoculars for an initial inspection from the ground before climbing to assess any visible damage. |
| 3. Inspect shingles and flashing thoroughly | Look for cracked, missing shingles, and check flashing for gaps or corrosion to prevent leaks. |
| 4. Check attic and ceilings for damage | Look for water stains and signs of moisture in the attic and ceilings to identify potential water intrusion. |
| 5. Document findings and prioritize repairs | Keep detailed records of issues found, noting urgency and potential impact, and plan for necessary repairs. |
Step 1: Prepare your roof inspection tools
Before climbing onto your roof, assembling the right equipment is critical for a safe and thorough damage assessment. Proper preparation helps you identify potential issues efficiently while maintaining personal safety. Professional home inspection equipment requires several key tools that will transform your basic visual check into a comprehensive roof evaluation.
Your essential toolkit should include a sturdy telescoping ladder, high-powered flashlight, moisture meter, safety glasses, work gloves, and a digital camera or smartphone for documenting any damage. Consider adding an infrared camera if you want advanced detection capabilities. When selecting your equipment, prioritize safety gear first: non slip shoes with good traction, a secure harness if accessing steep angles, and protective clothing that allows free movement. Ensure your ladder is rated for your weight and positioned at the correct angle for stable roof access.
Ready to start your inspection? Double check that all equipment is functioning correctly before heading up. Test your flashlight batteries, confirm your moisture meter is calibrated, and ensure your camera has sufficient storage and battery life. Understanding how to use these tools effectively will help you spot subtle roof damage that might otherwise go unnoticed.
Pro Tip: Always have a second person present when conducting roof inspections to help stabilize your ladder and provide immediate assistance if needed.
Step 2: Assess visible roof surfaces safely
Carefully examining your roof requires a strategic approach that prioritizes both thoroughness and personal safety. When conducting a visual roof inspection, your primary goal is to identify potential damage without risking personal injury. Safe roof inspection techniques demand a methodical and cautious approach that protects both you and your roofing structure.
Start by using binoculars to perform an initial ground level assessment. Look for obvious signs of damage such as missing shingles, visible cracks, or areas where roofing material appears displaced. If you need a closer view, use a sturdy ladder positioned at the correct angle, ensuring it extends at least three feet above the roof edge for safe access. Wear soft soled shoes with good traction and avoid walking on the roof if it appears wet, icy, or potentially fragile. Pay special attention to different roofing materials some surfaces like wooden or clay tiles can be extremely delicate and easily damaged by foot traffic.
While examining the roof, systematically scan each section methodically. Look for discoloration, warping, curling shingle edges, exposed nails, or areas with moss and algae growth. Take detailed photographs from multiple angles to document any potential issues you discover. These visual records will be crucial if you need to consult a professional roofing contractor for a comprehensive evaluation.
Pro Tip: Consider scheduling your roof inspection during daylight hours with clear weather conditions to ensure the best visibility and safest inspection environment.
Step 3: Examine shingles, flashing, and gutters
Detailed roof inspection requires a systematic approach to identifying potential damage and wear across critical roofing components. Your goal is to carefully evaluate the condition of shingles, flashing, and gutters to prevent future water damage and structural issues. Proper roof maintenance techniques demand a comprehensive and methodical visual examination of these key areas.
Begin by inspecting the shingles for signs of deterioration. Look for cracked, curled, or missing shingles that could compromise your roof’s protective barrier. Pay close attention to color changes, granule loss, and any areas where shingles appear lifted or damaged. Next, examine the flashing around chimneys, vents, and where the roof meets walls. Check for gaps, corrosion, or separation that could allow water to penetrate your home’s interior. Proper step flashing is crucial for preventing water intrusion, so look carefully for any signs of wear or improper installation.
Finish your inspection by assessing the gutter system. Clear any debris and look for signs of sagging, separation from the roofline, or damage to gutter attachments. Check that downspouts are directing water away from your home’s foundation and that there are no visible cracks or holes in the gutter system. Take photographs of any areas of concern to document potential issues that may require professional repair.
Pro Tip: Use binoculars for a detailed initial assessment to minimize the need for direct roof access and reduce personal safety risks.
Step 4: Check attic and ceilings for interior damage
Detecting roof damage is not complete without a thorough interior investigation. The attic and ceilings often reveal critical signs of water intrusion that might not be immediately visible from the outside. Roof inspection techniques recommend a comprehensive interior examination to uncover potential structural vulnerabilities.

Begin by entering the attic with a powerful flashlight and carefully scan the underside of the roof deck. Look for telltale signs of water damage including dark stains, wood discoloration, soft or rotting wood sections, and any areas with visible mold or mildew growth. Pay close attention to the condition of roof rafters and insulation materials. Check for water streaks running down the wood surfaces and feel for moisture by gently touching the structural elements. Any signs of dampness or soft spots could indicate an active leak that requires immediate professional attention.
Next move to your interior ceilings and walls. Inspect for water stains characterized by brownish or yellowish discolorations that often appear as irregular rings or patches. These marks can indicate ongoing or previous water penetration from roof leaks. Watch for bubbling paint, peeling wallpaper, or areas where the ceiling appears to sag or have unusual texture changes. Use a ladder to get a close view of these potential problem areas and take clear photographs documenting any suspicious spots for further assessment.
Pro Tip: Use a moisture meter to quantify dampness levels in wood and insulation materials for more precise leak detection.
Here’s a quick reference for identifying common roof and attic issues and their possible causes:
| Area Inspected | Typical Signs of Damage | Possible Cause | Recommended Action |
|---|---|---|---|
| Shingles | Cracks, curls, color fading | Weather exposure, aging | Replace damaged areas |
| Flashing | Gaps, corrosion, separation | Poor installation, rust | Reseal or replace flashing |
| Gutters | Sagging, attachment issues | Debris buildup, loose fasteners | Clean and reinforce |
| Attic & Ceilings | Stains, soft wood, mildew | Water intrusion, leaks | Address leaks, dry area |
Step 5: Document findings and plan next steps
Transforming your roof inspection observations into actionable insights requires systematic documentation and strategic planning. Home inspection documentation serves as your roadmap for addressing potential roof damage and preventing future issues. Your comprehensive report will become a critical tool for understanding your roof’s current condition and determining the most appropriate course of action.
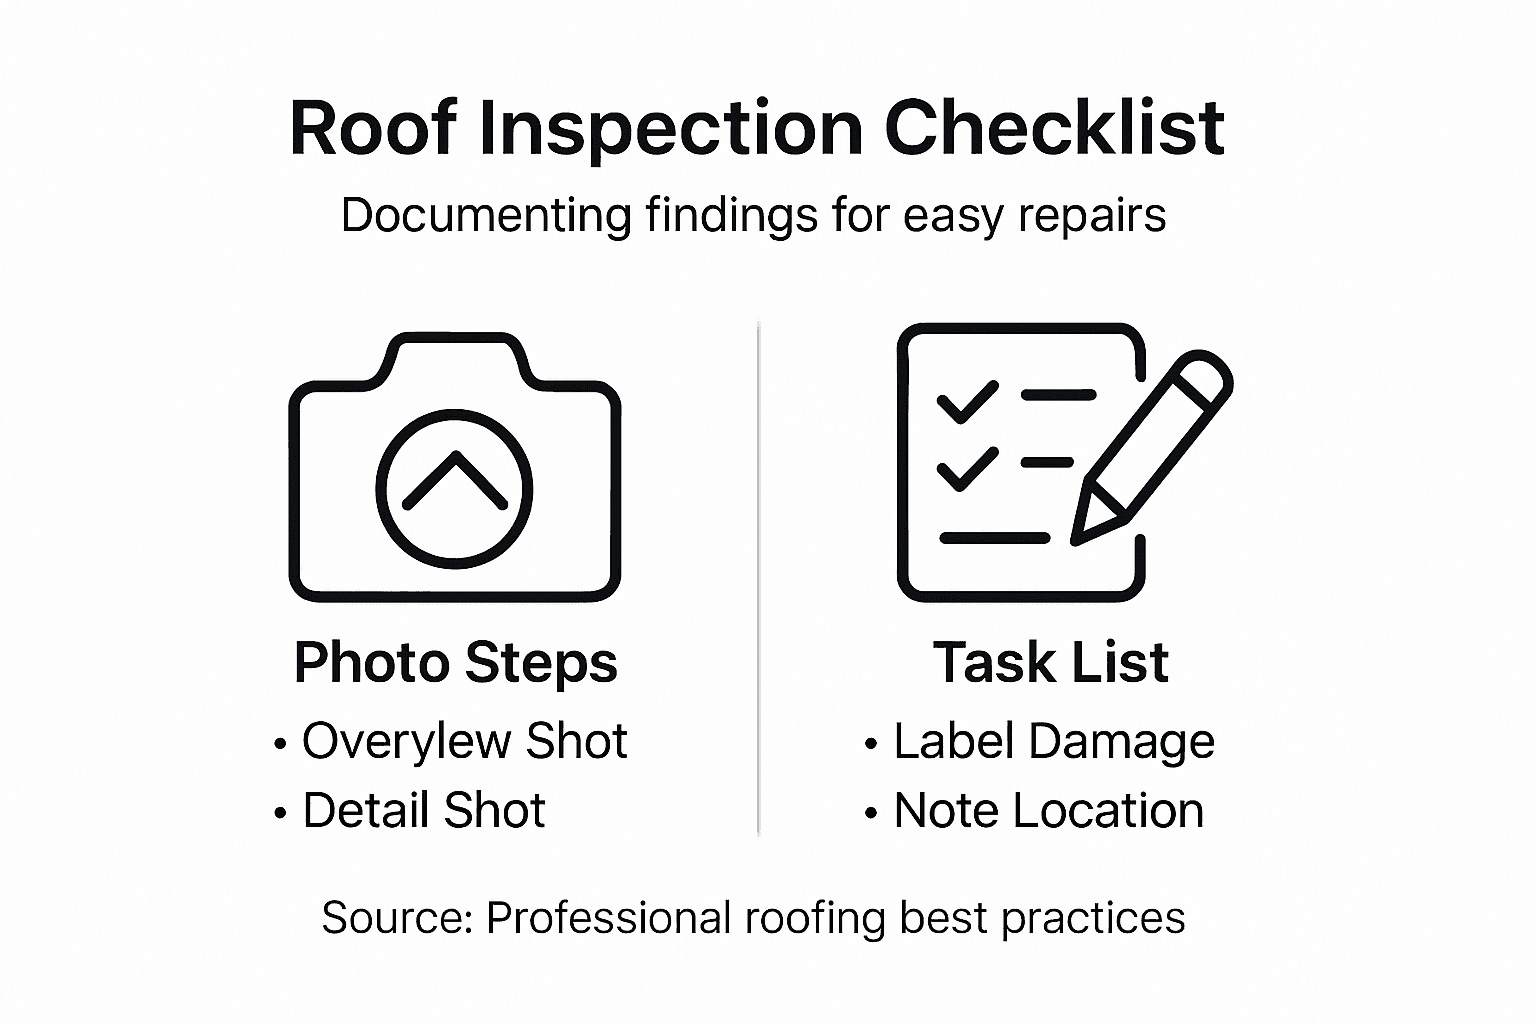
Create a detailed digital or physical file that includes clear photographs of all damaged areas, annotated with specific observations. Organize your documentation by categorizing findings into immediate concerns, potential future problems, and areas that require professional assessment. Note the location of each issue using precise descriptions like north side roof near chimney or attic west rafter section. Measure and photograph visible damage using a reference point such as a ruler or standard object to provide scale and context. Consider creating a spreadsheet or digital document that tracks each discovered issue with its specific details location, size, potential cause, and recommended action.
Develop a prioritized action plan based on your documentation. Separate issues into urgent repairs that could compromise structural integrity, moderate concerns that need monitoring, and cosmetic problems that can be addressed during routine maintenance. Contact a professional roofing contractor to review your findings and provide expert recommendations. Some damage might require immediate intervention to prevent water intrusion or structural compromise, while other issues could be part of a planned maintenance strategy.
Compare the urgency and impact of roof issues commonly found during inspections:
| Issue Type | Urgency of Repair | Potential Impact | Professional Needed |
|---|---|---|---|
| Active Leak | Immediate | Major structural damage | Yes |
| Missing Shingles | High | Localized water intrusion | Yes |
| Moss/Algae Growth | Moderate | Gradual roof deterioration | No, routine cleaning |
| Cosmetic Stains | Low | Minimal, appearance only | No, optional |
Pro Tip: Create digital backups of all inspection photographs and documentation in multiple locations to ensure you have a comprehensive record for insurance and future reference.
Protect Your Home with Expert Roofing Services from Sabatalo Contracting
Spotting roof damage early is essential to prevent costly repairs and safeguard your home’s structural integrity. If you have noticed cracked shingles, damaged flashing, or interior water stains during your inspection, don’t wait to take action. These signs indicate that your roof needs professional attention to avoid further issues like leaks or mold growth. At Sabatalo Contracting, our local Massachusetts team brings over 15 years of trusted experience to provide high-quality roofing solutions tailored to your home’s needs.

Ready to protect your home from roof damage? Visit our Roofing | Sabatalo Contracting page to explore our durable roofing options. To learn more about enhancing your home’s exterior protection, check out our services on Siding | Sabatalo Contracting. Start your journey to a safer home today by requesting a personalized consultation at Sabatalo Contracting. Don’t let small roof problems turn into expensive repairs—contact us now and secure your peace of mind.
Frequently Asked Questions
How can I prepare for a roof inspection?
To prepare for a roof inspection, gather essential tools like a telescoping ladder, flashlight, moisture meter, and safety gear such as non-slip shoes and gloves. Ensure all equipment is in working order and test items like batteries and storage before starting the inspection.
What are the initial signs of roof damage I should look for?
Initial signs of roof damage include missing shingles, cracks, discoloration, and areas where roofing material appears lifted or damaged. Conduct a ground-level visual check using binoculars to identify these issues before accessing the roof.
How should I examine the gutters during a roof inspection?
During your roof inspection, check the gutters for debris, sagging, and any separation from the roofline. Clear any obstructions and verify that downspouts direct water away from your home’s foundation to prevent potential water damage.
What should I look for in the attic regarding roof damage?
In the attic, look for signs of water damage, such as dark stains, soft wood, or visible mold. Conduct a thorough examination to identify potential leaks and assess the condition of rafters and insulation materials to determine if immediate action is needed.
How do I document my roof inspection findings effectively?
Document your roof inspection by taking clear photographs of damaged areas and noting their locations with specific descriptions. Organize your findings into immediate concerns and future issues, creating a detailed report to guide potential repairs or professional consultations.
When should I consider hiring a professional roofing contractor?
Consider hiring a professional roofing contractor when you encounter active leaks, missing shingles, or any significant roof damage that could lead to structural problems. Acting quickly can prevent further issues, so schedule a consultation as soon as possible after your inspection.
Recommended
- How to Identify Roof Damage: Step-by-Step Guide for Homeowners | Sabatalo Contracting
- Repairing Hail Damage: Step-by-Step Guide for Homeowners | Sabatalo Contracting
- How to Prevent Roof Leaks: A Step-by-Step Guide for Homeowners | Sabatalo Contracting
- 7 Steps to a Seasonal Home Maintenance Checklist for MA Owners | Sabatalo Contracting